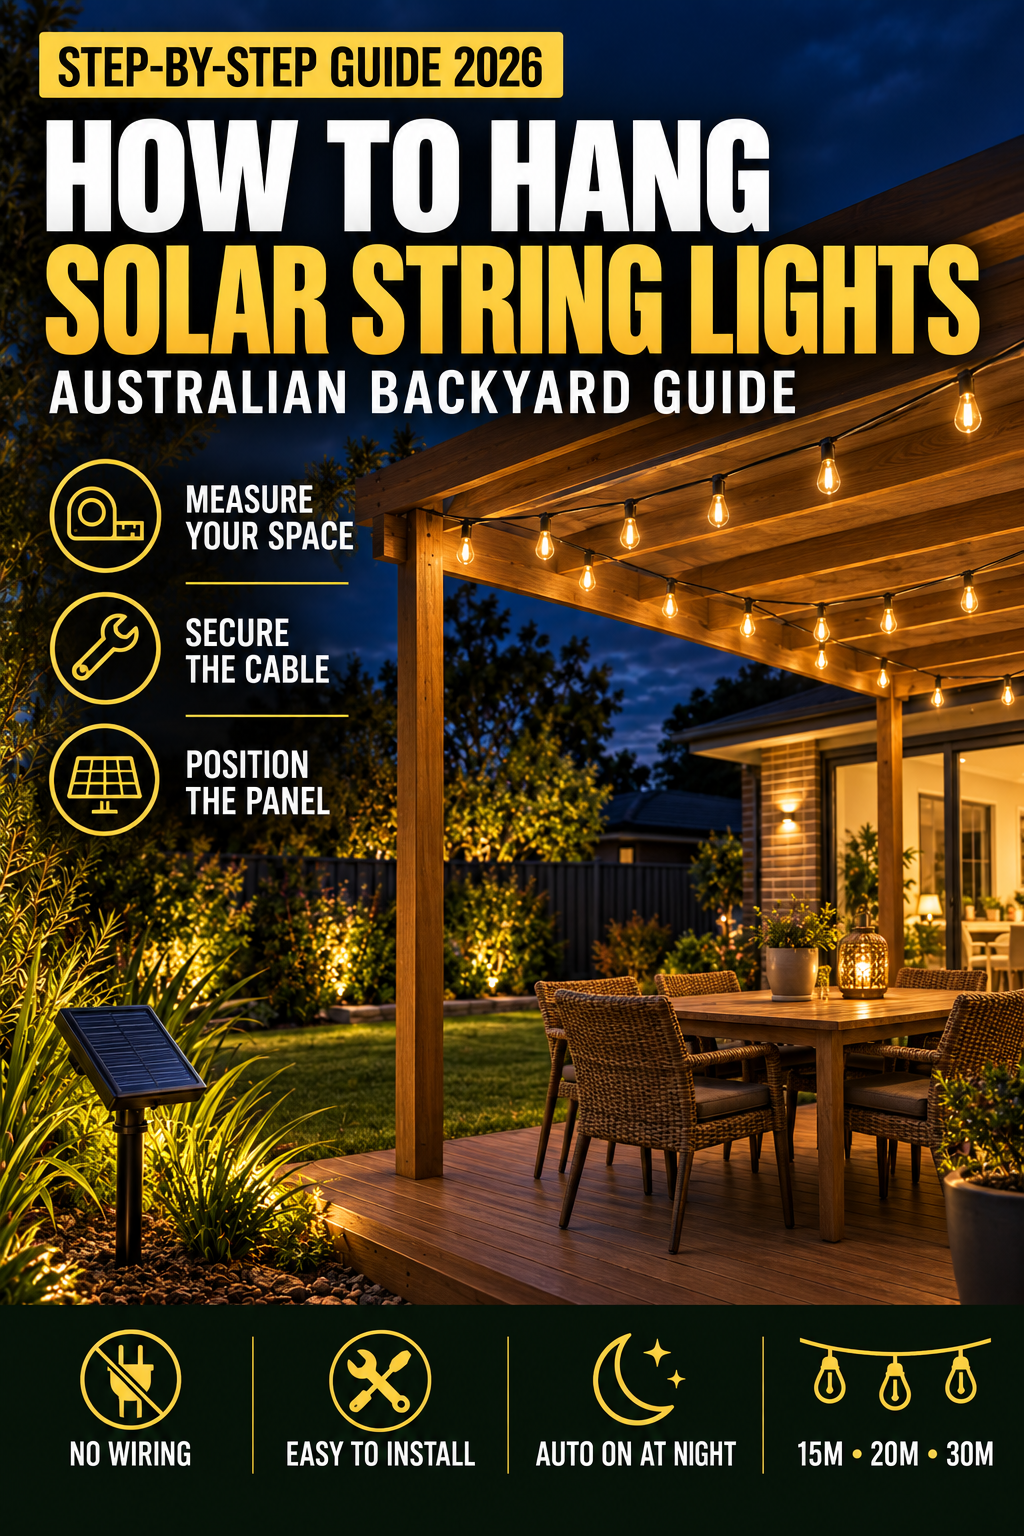
Solar string lights can be hung across a patio, pergola, fence or backyard using secure outdoor hooks, mounting clips or a supporting guide wire. For reliable performance, measure the complete cable route first, leave a gentle curve between mounting points and place the solar panel where it receives direct sunlight during the day.
This step-by-step guide explains how to hang solar string lights safely, choose the right length and create a welcoming outdoor entertaining area without permanent electrical wiring.
Quick answer
Measure your backyard, select a hanging pattern, install secure outdoor hooks, add a guide wire for long spans and hang the cable without pulling it completely tight. Position the solar panel in direct sunlight. A 15M set suits smaller patios, 20M works well for most Australian backyards, and 30M is better for larger entertaining areas.
Why Choose Solar String Lights for a Backyard?
Solar string lights provide warm decorative lighting without requiring an outdoor power point or permanent electrical wiring. During the day, the solar panel collects energy from sunlight. The lights then turn on automatically after dark.
They are commonly installed over Australian patios, pergolas, decks, fences and outdoor dining areas. Because the solar panel can be positioned separately in a sunny location, the lights can also be used in outdoor spaces where mains power is unavailable or inconvenient.
Before installation, check the total distance, available mounting points and amount of direct sunlight reaching the proposed solar panel location.
What You Need to Hang Solar String Lights
The exact equipment depends on the installation surface and layout. You may need:
- A tape measure
- A pencil or removable marker
- Outdoor-rated hooks or screw eyes
- Outdoor cable ties or mounting clips
- A ladder
- A drill and suitable drill bit
- A supporting guide wire for longer spans
- Posts or poles where existing supports are unavailable
- Safety glasses and gloves
Choose fixings that are suitable for the mounting surface. Timber, brick, concrete and metal structures may require different screws, anchors or clamps.
How to Hang Solar String Lights: Step-by-Step
Step 1: Decide Which Area You Want to Light
Start by identifying the part of the backyard where lighting will be most useful. Popular locations include:
- Patios and outdoor dining areas
- Pergolas and gazebos
- Decks and balconies
- Fences and garden boundaries
- Outdoor entertaining areas
- Spaces between a house and suitable posts
Think about how the area will be used at night. Lights installed above a dining table may need a different pattern from lights placed along a fence.
Make sure the finished installation will not obstruct doors, walkways, clotheslines, vehicles or areas where people regularly carry tall objects.
Step 2: Measure the Complete Cable Route
Measure every section that the string lights will follow. Do not measure only the straight-line distance between the first and final mounting points.
Zigzag, V-shaped and curved arrangements require more cable than a straight installation. You should also allow some additional length for gentle curves and for the connection between the lights and solar panel.
Mark the proposed mounting points before drilling any holes. This makes it easier to confirm whether the selected length will cover the complete area.
Step 3: Choose the Right String Light Length
The best string-light length depends on the size and layout of the outdoor area.
| Length | Bulbs Included | Cable Style | Recommended Area |
|---|---|---|---|
| 15M | 15 bulbs + 1 spare | Dropper style | Balconies, small patios and compact entertaining areas |
| 20M | 20 bulbs + 1 spare | Flat cable | Most Australian backyards, patios and pergolas |
| 30M | 30 bulbs + 1 spare | Flat cable | Large patios, long fences and spacious entertaining areas |
The 20M model is a versatile option for most backyard and pergola installations. A 20M model with an additional AU adapter is also available for customers who want another power option.
Compare 15M, 20M and 30M solar string lights.
Step 4: Choose a Hanging Pattern
The hanging pattern affects the appearance, coverage and total amount of cable required.
Straight-line pattern
A straight line works well along fences, balconies, pergola beams and narrow patios. It is simple to install and requires relatively few mounting points.
Zigzag pattern
A zigzag arrangement provides wider lighting coverage over a patio or outdoor dining area. It requires several secure mounting points on opposite sides of the space.
V-shaped pattern
A V-shaped design creates a central feature. It works well when one secure mounting point is available in the centre of the entertaining area.
Perimeter pattern
Installing the lights around the perimeter of a patio, pergola or fence defines the space without placing cables directly above the centre.
Canopy pattern
Several parallel runs can create a canopy effect over a larger entertaining area. This design requires careful measurement and strong supports.
Step 5: Check the Solar Panel Position
The solar panel is one of the most important parts of the installation. Even correctly installed lights may have reduced operating time if the panel remains in shade for most of the day.
Choose a position that receives several hours of unobstructed direct sunlight. In Australia, a generally north-facing location often receives good sunlight, although surrounding buildings, trees and fences must also be considered.
Avoid placing the panel:
- Under a solid patio roof
- Beneath dense tree branches
- Behind outdoor furniture or tall plants
- Indoors behind a window
- Where leaves or water regularly collect
Observe the proposed position at different times of day. A location that appears bright in the morning may become shaded during the afternoon.
Step 6: Identify Secure Mounting Points
Suitable mounting points may include:
- Pergola beams
- Strong fence posts
- House eaves
- Brick or masonry walls
- Purpose-built outdoor poles
- Stable garden structures
Do not attach the lights to weak branches, loose fence panels, unstable structures or gutters that cannot safely support the cable.
If the backyard does not provide enough mounting points, suitable posts can be installed in stable ground. Each post must be strong enough to resist wind and cable movement.
Step 7: Install the Outdoor Hooks or Clips
Install outdoor-rated hooks, screw eyes or clips at the marked mounting points.
- For timber, use suitable outdoor screws or screw hooks.
- For brick or concrete, use appropriate masonry anchors and drill bits.
- For metal structures, use suitable clamps or approved fixings.
- For temporary installations, outdoor cable ties may be suitable if they cannot slide or damage the structure.
Check for concealed electrical cables, pipes and other services before drilling into a wall or permanent structure.
Step 8: Add a Guide Wire for Long Spans
The string-light cable should not be forced to support excessive tension across a long distance. Its weight and repeated movement in the wind can place strain on the cable, connectors and mounting points.
For longer unsupported spans, install a separate guide wire first. Attach the string lights to the guide wire using outdoor clips or cable ties.
The guide wire carries the physical load while allowing the light cable to remain relaxed.
Step 9: Hang the Lights Carefully
If possible, test the lights before completing the installation. This makes it easier to identify any switch, connection or charging issue while the lights are still accessible.
Start at the end closest to the solar panel and gradually work towards the final mounting point.
Leave a gentle curve between mounting points. Do not pull the string completely tight because wind, temperature changes and cable weight can place unnecessary stress on the connections.
During installation, avoid:
- Pulling the cable by the bulbs
- Dragging the lights across rough ground
- Twisting the cable tightly around hooks
- Using staples or nails through the cable
- Placing excessive tension on connectors
Step 10: Check the Hanging Height
Lights installed above a walking area should provide comfortable clearance for people passing underneath.
If the lights are positioned above an outdoor dining or seating area, check their appearance while both standing and sitting. Lights installed too low may create glare or make the area feel crowded.
Make sure the bulbs will not interfere with doors, vehicles, outdoor umbrellas or regular backyard activities.
Step 11: Position and Secure the Solar Panel
Install the solar panel in the sunny position identified earlier. Adjust its angle so that the front surface receives strong sunlight during the main part of the day.
Secure the panel so that wind cannot easily change its direction. Do not position it where lawn equipment, pets or normal garden activity may damage it.
Arrange the connecting cable neatly and keep it away from:
- Sharp edges
- Moving doors and gates
- Busy walkways
- Standing water
- Lawnmowers and garden tools
Step 12: Charge and Test the Lights
Allow the solar panel to receive a full day of direct sunlight before judging the brightness or operating time.
If the battery has been stored for an extended period, it may require more than one clear day to reach a useful charge level.
After dark, check that:
- All bulbs illuminate correctly
- The lights turn on automatically
- The hooks and mounting points remain stable
- The cable is not under excessive tension
- The solar panel remains securely positioned
- No connecting cables create a trip hazard
Common Solar String Light Installation Mistakes
Choosing the wrong length
A curved or zigzag design requires more cable than the straight distance across the area. Measure the entire planned route before selecting the light length.
Installing the solar panel in shade
Insufficient direct sunlight can reduce brightness and nightly operating time, even when the lights themselves are installed correctly.
Pulling the cable too tightly
A tight cable places unnecessary strain on mounting points and connections. Leave a natural curve between supports.
Creating unsupported long spans
Long distances between mounting points can cause the cable to sag or move excessively in the wind. Add more mounting points or use a supporting guide wire.
Using indoor mounting hardware outside
Indoor hooks, adhesive clips and cable ties may deteriorate when exposed to rain, sunlight and temperature changes.
Hanging the lights too low
Low cables and bulbs may obstruct people, doors or outdoor activities. Check the height throughout the entire installation.
How Long Do Solar String Lights Operate at Night?
After approximately six hours of good sunlight, solar string lights may operate for around 6–10 hours. Actual performance depends on available sunlight, season, panel position and the selected lighting mode.
Shorter winter days and prolonged cloudy weather can reduce nightly operating time. Cleaning and repositioning the solar panel can often improve charging performance.
Which Solar String Lights Suit Your Backyard?
For a balcony or small patio, a 15M dropper-style set may provide enough coverage without leaving excessive unused cable.
For most Australian backyards, patios and pergolas, the 20M model provides a practical balance between coverage and installation flexibility. The 20M option is available as a standard solar model or with an additional AU adapter.
For large patios, long fences or wider entertaining areas, a 30M set or multiple light strings may provide more suitable coverage.
Create a Warmer Backyard Without the Wiring
Choose from 15M, 20M and 30M solar festoon string lights for patios, pergolas and Australian outdoor entertaining areas.
Free Australia-wide shipping · 3-year warranty · 100-day returns
VIEW SOLAR STRING LIGHTSHow to Maintain Outdoor Solar String Lights
Outdoor string lights require occasional inspection and maintenance.
- Clean the solar panel with a soft, damp cloth.
- Remove leaves and plants that create shade over the panel.
- Inspect hooks, clips and cable ties after strong wind.
- Check that the cable has not rubbed against sharp edges.
- Make sure water is not collecting around connectors or the panel.
- Replace deteriorated mounting hardware when necessary.
Seasonal changes can affect sunlight exposure. Recheck the solar panel position when trees grow, surrounding plants become taller or the winter sun becomes lower in the sky.
Frequently Asked Questions
What is the easiest way to hang solar string lights?
Measure the complete cable route, install outdoor-rated hooks at secure mounting points and hang the cable with a gentle curve. Use a supporting guide wire when the distance between mounting points is long.
Can solar string lights be installed without a pergola?
Yes. Solar string lights can be installed between secure fence posts, suitable walls, purpose-built poles or other stable outdoor structures.
Should outdoor string lights be pulled tight?
No. Leave a gentle curve between mounting points to reduce strain caused by wind, cable weight and temperature changes.
Which length is suitable for a typical Australian backyard?
A 20M set is a versatile choice for most patios, pergolas and backyard entertaining areas. Smaller areas may only require 15M, while larger spaces may need 30M or multiple sets.
Where should a solar panel face in Australia?
A generally north-facing position often receives good sunlight in Australia. However, the best location is the one that receives the most unobstructed direct sunlight at the individual property.
Can solar string lights stay outside in the rain?
Outdoor-rated solar string lights are designed for normal outdoor conditions. All connections should be secured correctly, and the panel and electrical connections should not be placed where water regularly pools.
How long do solar string lights stay on at night?
After sufficient charging, operating time is typically around 6–10 hours. Weather, season, solar panel position and lighting mode can affect the result.
What is the difference between 15M and 20M solar string lights?
The 15M model includes 15 bulbs plus one spare and uses a decorative dropper-style cable. The 20M model includes 20 bulbs plus one spare and uses a flat-cable design.
Do solar string lights require an electrician?
Standard solar string lights do not require permanent mains wiring. They collect energy through the solar panel and can usually be installed using suitable outdoor hooks or clips.
Do solar string lights turn on automatically?
Solar string lights with an automatic light sensor charge during the day and turn on when the surrounding area becomes dark. The power switch must remain in the correct operating position.
Final Thoughts
To hang solar string lights successfully, measure the complete cable route, choose stable mounting points and place the solar panel in direct sunlight. Leave gentle curves in the cable and use a guide wire for long unsupported spans.
Selecting the correct length is equally important: 15M for compact spaces, 20M for most Australian backyards and 30M for larger outdoor entertaining areas.
Explore the available solar string lights for Australian backyards to compare the different lengths, cable styles and power options.